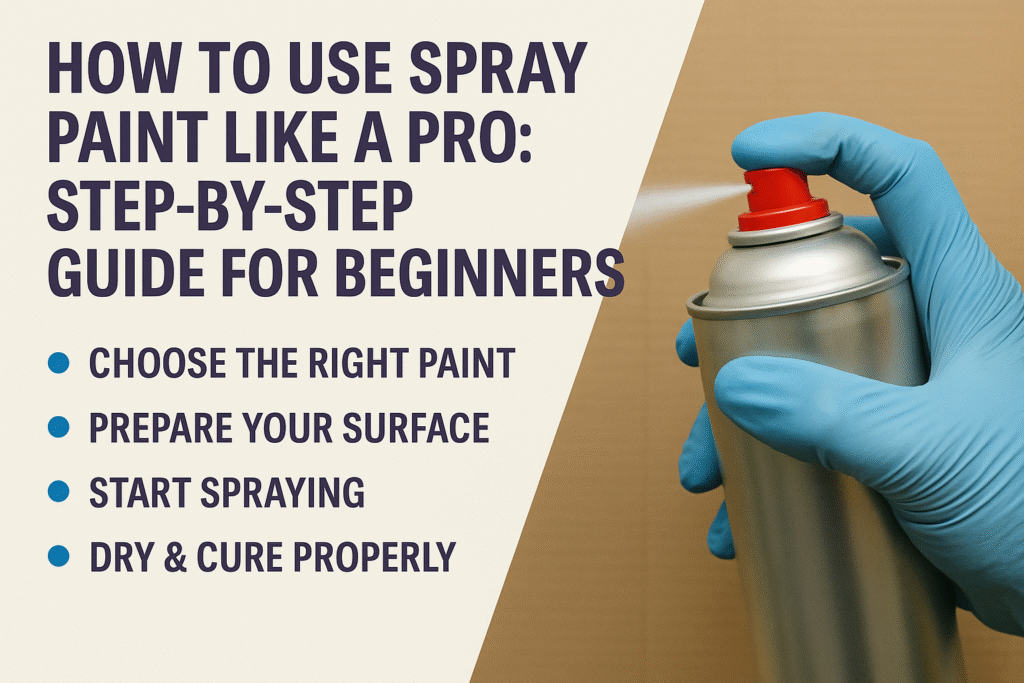
How to Use Spray Paint Like a Pro: Step-by-Step Guide for Beginners

Add Your Heading Text Here
Add Your Heading Text Here
Spray painting is a game-changer for DIY lovers, hobbyists, and even professionals. It’s fast, fun, and offers a smooth, even finish—if done right. Whether you’re revamping an old chair or crafting wall art, knowing how to use spray paint properly can make all the difference.
In this beginner-friendly guide, we’ll walk you through the process step by step, share pro tips, and help you choose the right Just Spray product for your project.
Why Use Spray Paint?
Spray paint offers several advantages over traditional painting methods:
- Quick application
- No brush marks
- Even finish
- Fast drying
- Works on metal, wood, plastic, glass, and more
Whether you’re doing home decor, automotive touch-ups, or DIY crafts, spray paint is your best friend.
What You’ll Need
Before getting started, gather these materials:
- Spray paint (like Just Spray Gloss or Matte Finish)
- Drop cloth or old newspapers
- Painter’s tape
- Safety gear: gloves, mask, and goggles
- Sandpaper (medium and fine grit)
- Cleaning cloth
- Primer (optional but recommended for some surfaces)
Step-by-Step Guide to Spray Paint Like a Pro
Step 1: Choose the Right Paint
Always choose a paint designed for your surface. Just Spray offers specialized spray paints for wood, plastic, metal, and fabric.
Pro Tip: For outdoor use or metal objects, go for Just Spray Rust-Proof or Gloss Enamel options.
Step 2: Prepare Your Surface
Clean your item thoroughly to remove dirt, grease, or old paint. Use sandpaper to smooth rough surfaces. A well-prepped surface allows better paint adhesion.
Step 3: Protect Your Workspace
Lay down drop cloths or newspapers. Use painter’s tape to cover areas you don’t want painted.
- Work in a well-ventilated area
- Avoid windy or humid environments
- Keep pets and children away during spraying
Step 4: Shake & Test the Can
Shake the spray can vigorously for at least 60 seconds. Test spray on a scrap surface to ensure even flow.
Blocked nozzle? Read how to fix nozzle clogging for easy solutions.
Step 5: Start Spraying – Light Coats
Hold the can about 6–8 inches from the surface and start spraying before the object, then move smoothly across it. Release the nozzle after the pass to avoid drips.
- Use multiple light coats
- Wait 5–10 minutes between each coat
- Shake the can occasionally during use
Want to see real projects? Check out our DIY Gallery for inspiration.
Step 6: Dry & Cure Properly
After the final coat, let your item dry for 24 hours in a dust-free area. Avoid touching or placing objects on it too soon to prevent smudging.
Extra Tips for Pro-Level Results
- Use a primer for plastics, metals, or dark surfaces
- For a glossy finish, apply a clear coat spray after painting
- Store cans upside-down and spray for 2 seconds to clean the nozzle
Related Products
Where to Buy Spray Paint Online in India?
Looking for reliable spray paints online? We’ve got you covered. Visit our official store to explore premium colors and finishes—all delivered to your door.
Final Thoughts
Spray painting is a skill anyone can learn with the right approach. Whether it’s furniture, decor, or art, following these simple steps will help you achieve professional-looking results. Remember: prep well, spray lightly, and be patient!
If you found this guide helpful, don’t forget to share it with your fellow DIYers and tag us on Instagram with your projects using #JustSprayDIY!


1 Comment
Thnks for provide knowledge about spray paints by this superb blog, this helped me a lot.